
Step 1: Open up Onity Client located on the Start menu.

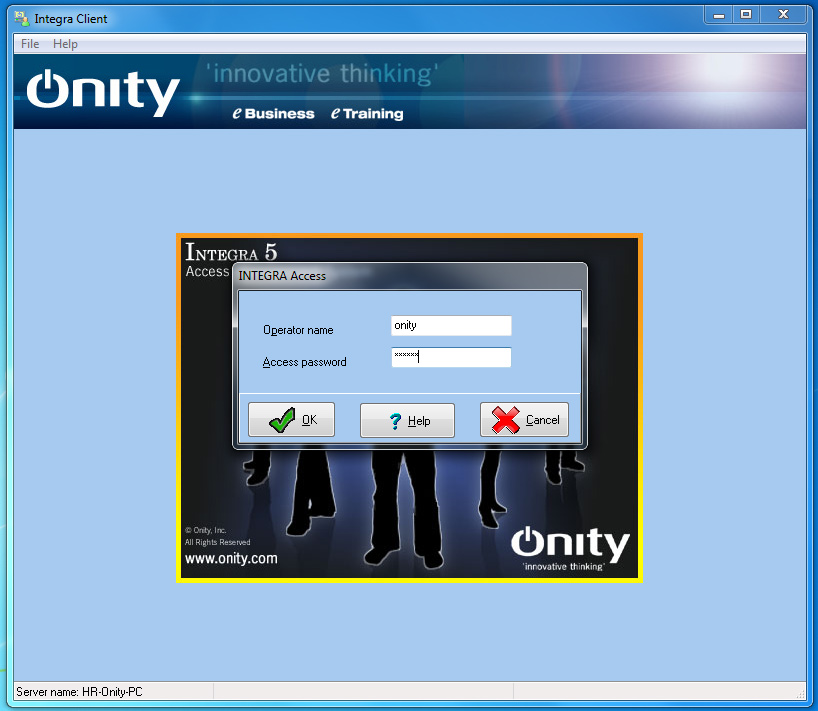
Step 2: Log into Onity.
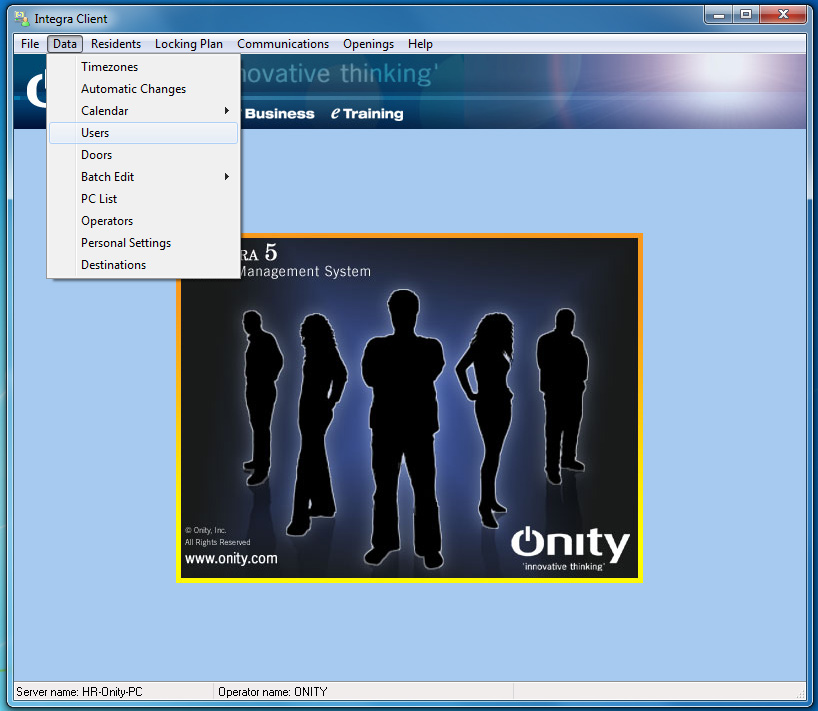
Step 3: Click on Data from the menu bar, then select Users.
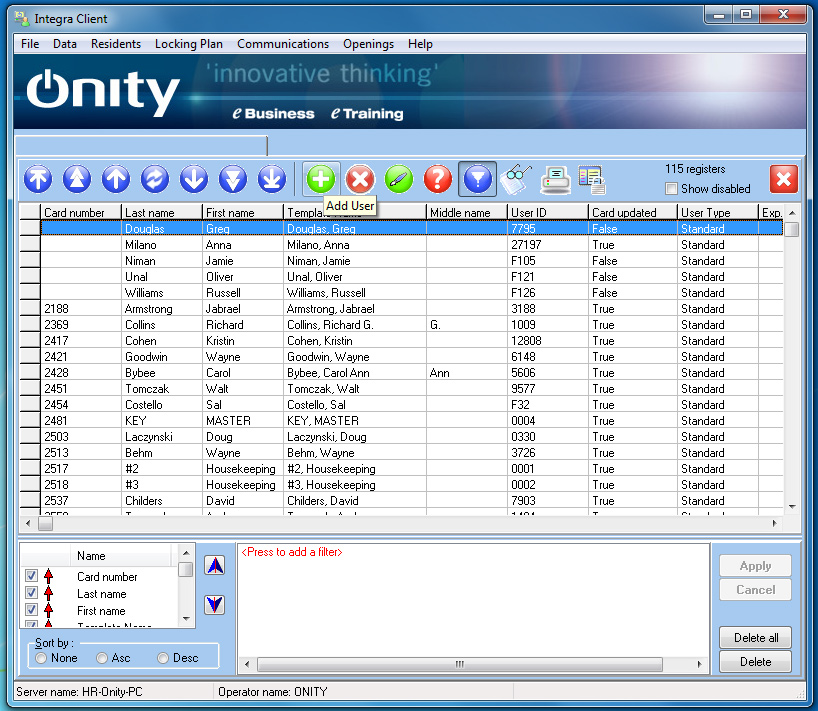
Step 4: Click the ‘green’ + button to create a new user.
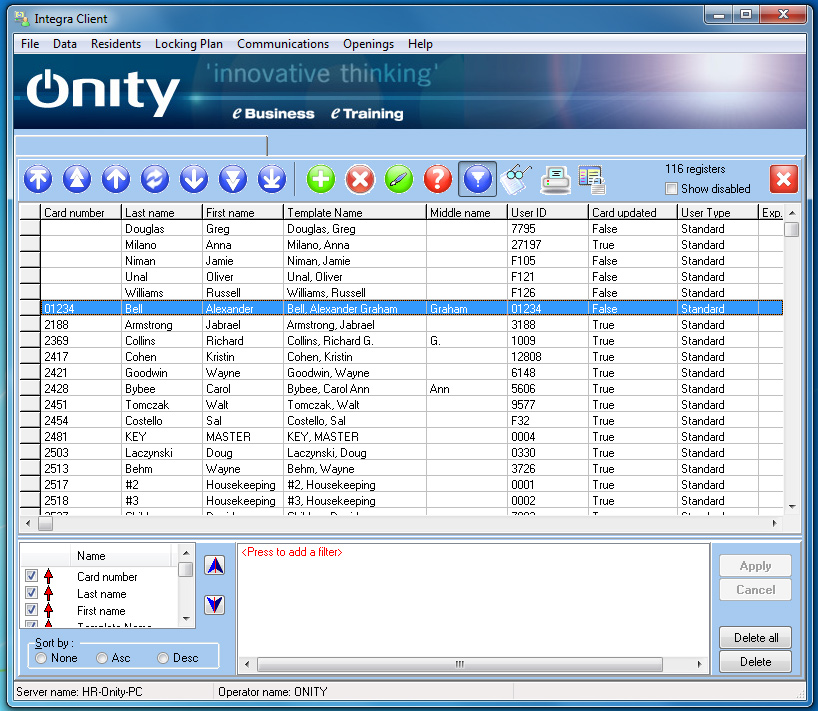
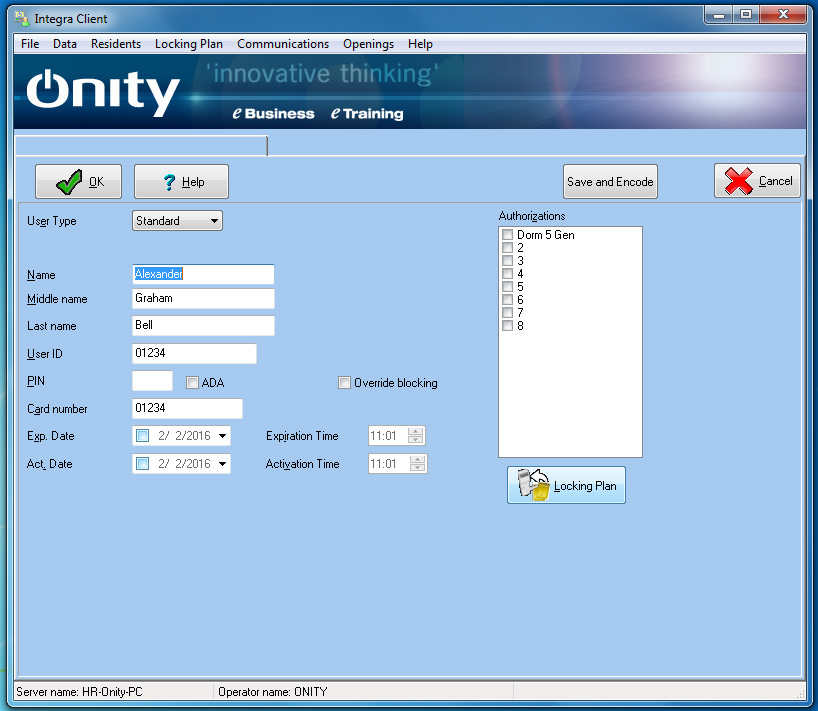
Step 5: Enter in First Name, Last Name, ID Number (which is the same as their card number), and their card number. You can find this on the back of the ID Card. It’s the first 5 digits on the back of the card. Do not enter in the ‘0’ at the beginning. Example: 03012. Enter in 3012.

Step 6: After entering this data, click ‘OK’ then when it goes back to the ‘Users’ listing, find the name you just entered and double click on it.
Step 7: Click on ‘Locking Plan’.
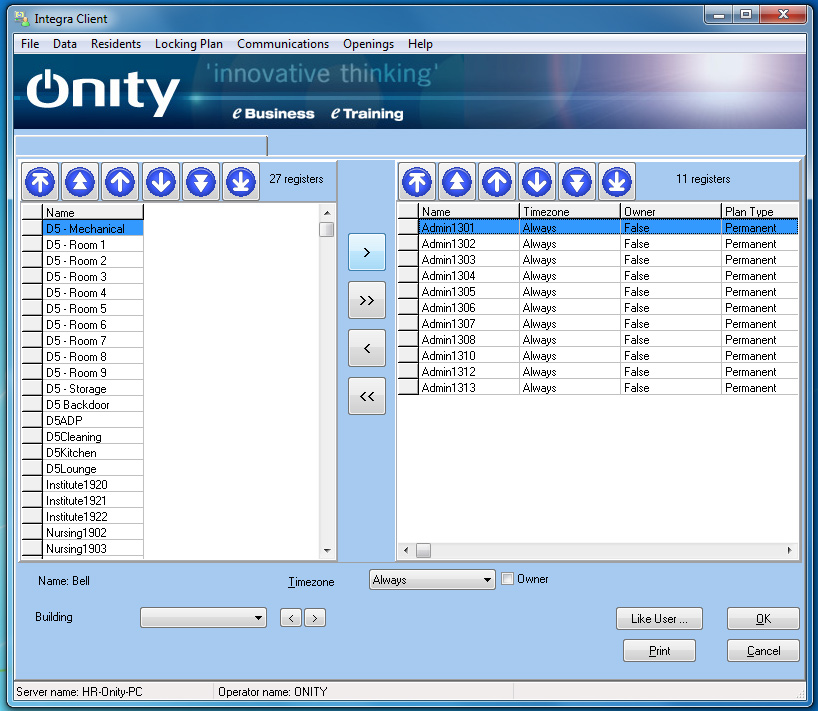
Step 8: Select on the doors to the left, and click the > button which will take them to the right.
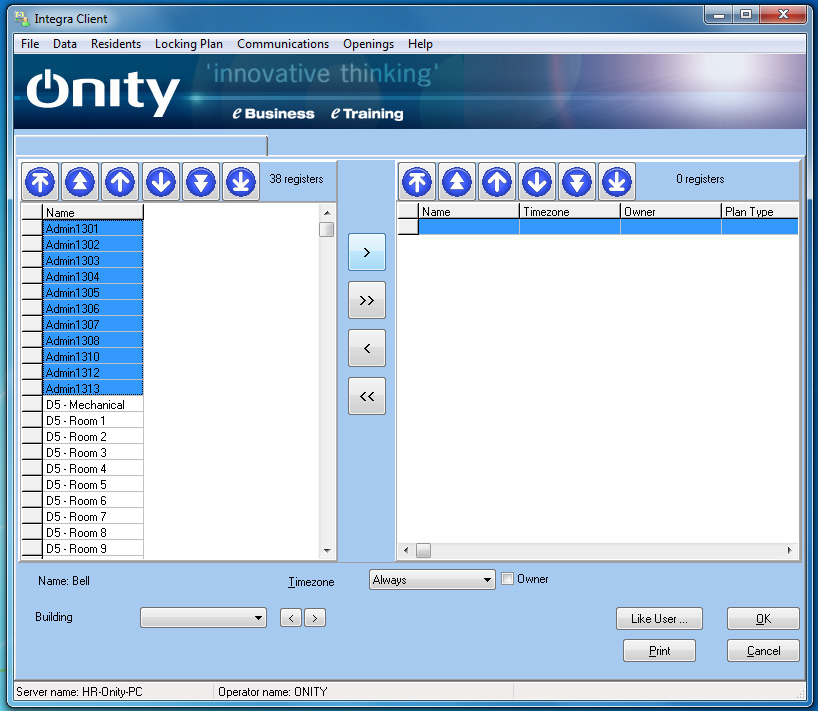
Step 9: Once you’ve given them the access to the ‘Doors’, click OK.
Step 10: When you are back to the ‘Individual Profile’ page, click ‘Save & Encode’. Once you do this you will insert the card into the ‘white box’. The magnetic strip is to be facing down and to the right. Once you insert it it will pop back out and the computer screen will tell you if the encoding was OK. Once it says ‘Encoded OK’ that card is done.

Step 11: Continue until finished programming all cards.